If you want to add a contact tagged to a particular account, then yoou can do it from the account view page which will tag to the same account.
To do this action you need to have add contact permission enabled for your role from the Settings->Role security
Please follow the below steps to create a contact from account view page
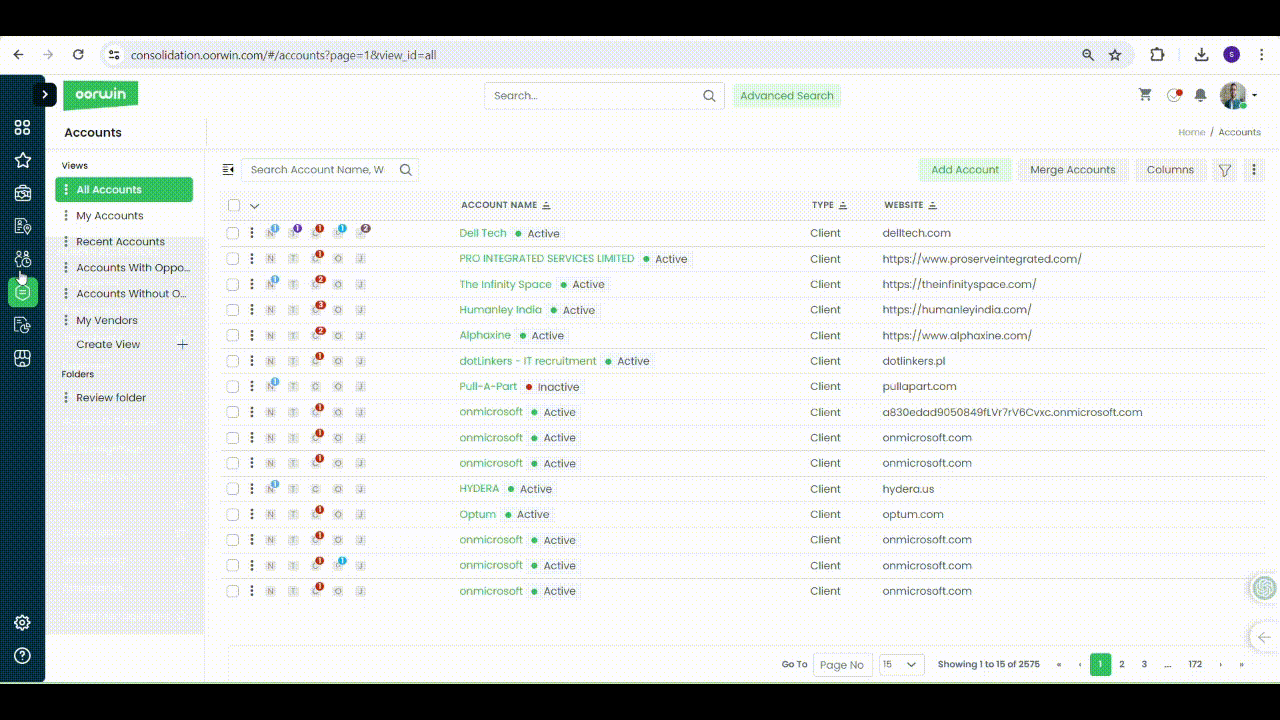
- Log in to your Oorwin Account and navigate to Accounts module from the left menu under General Section
- Click on any account name to whom you wanted to create a new conatct
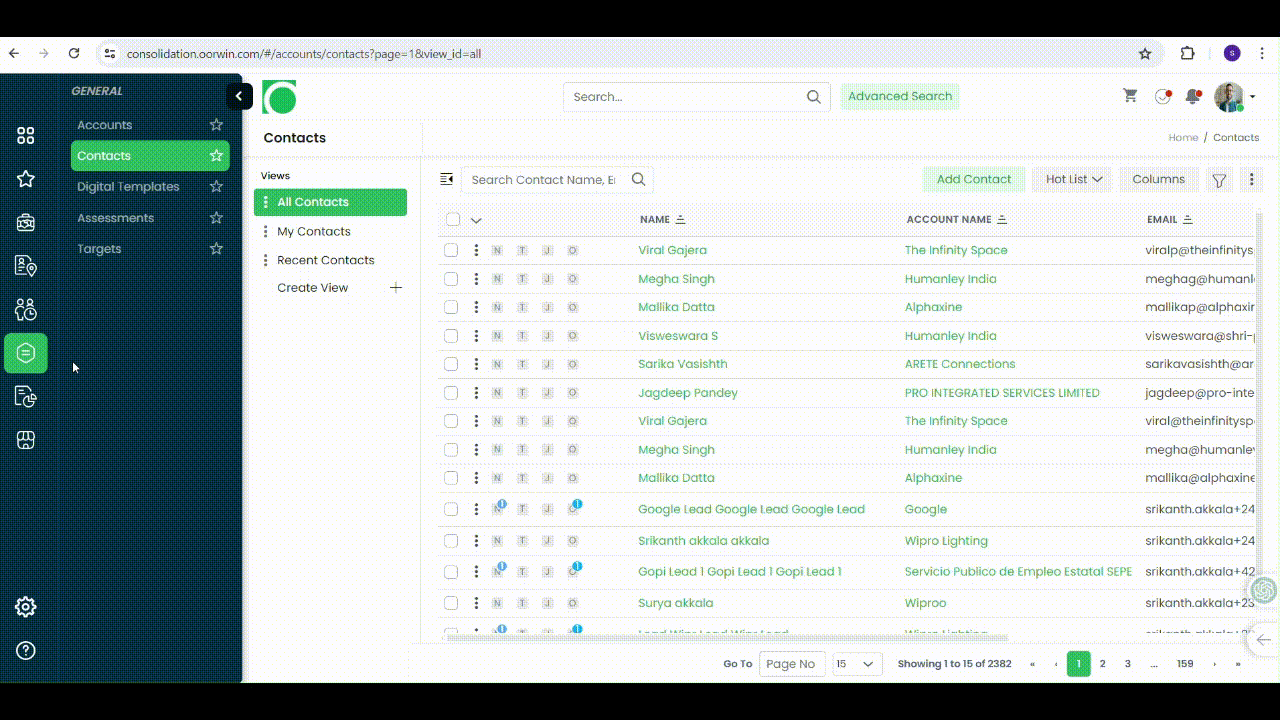
- Click on contacts tab on the top header which shows all the contacts available to that account
- Click on Add Contact button on the top right corner
- Fill all the mandatory information and click on Save button
- Thats it! Your conatct has been created and tagged to the particular account