Creating a job in Oorwin is as simple as brewing a coffee! Whenever you receive a requirement from your client, the first thing you need to do is load all the details in Ooriwn and start searching for the candidate
Below are the steps to follow while creating a job in Oorwin
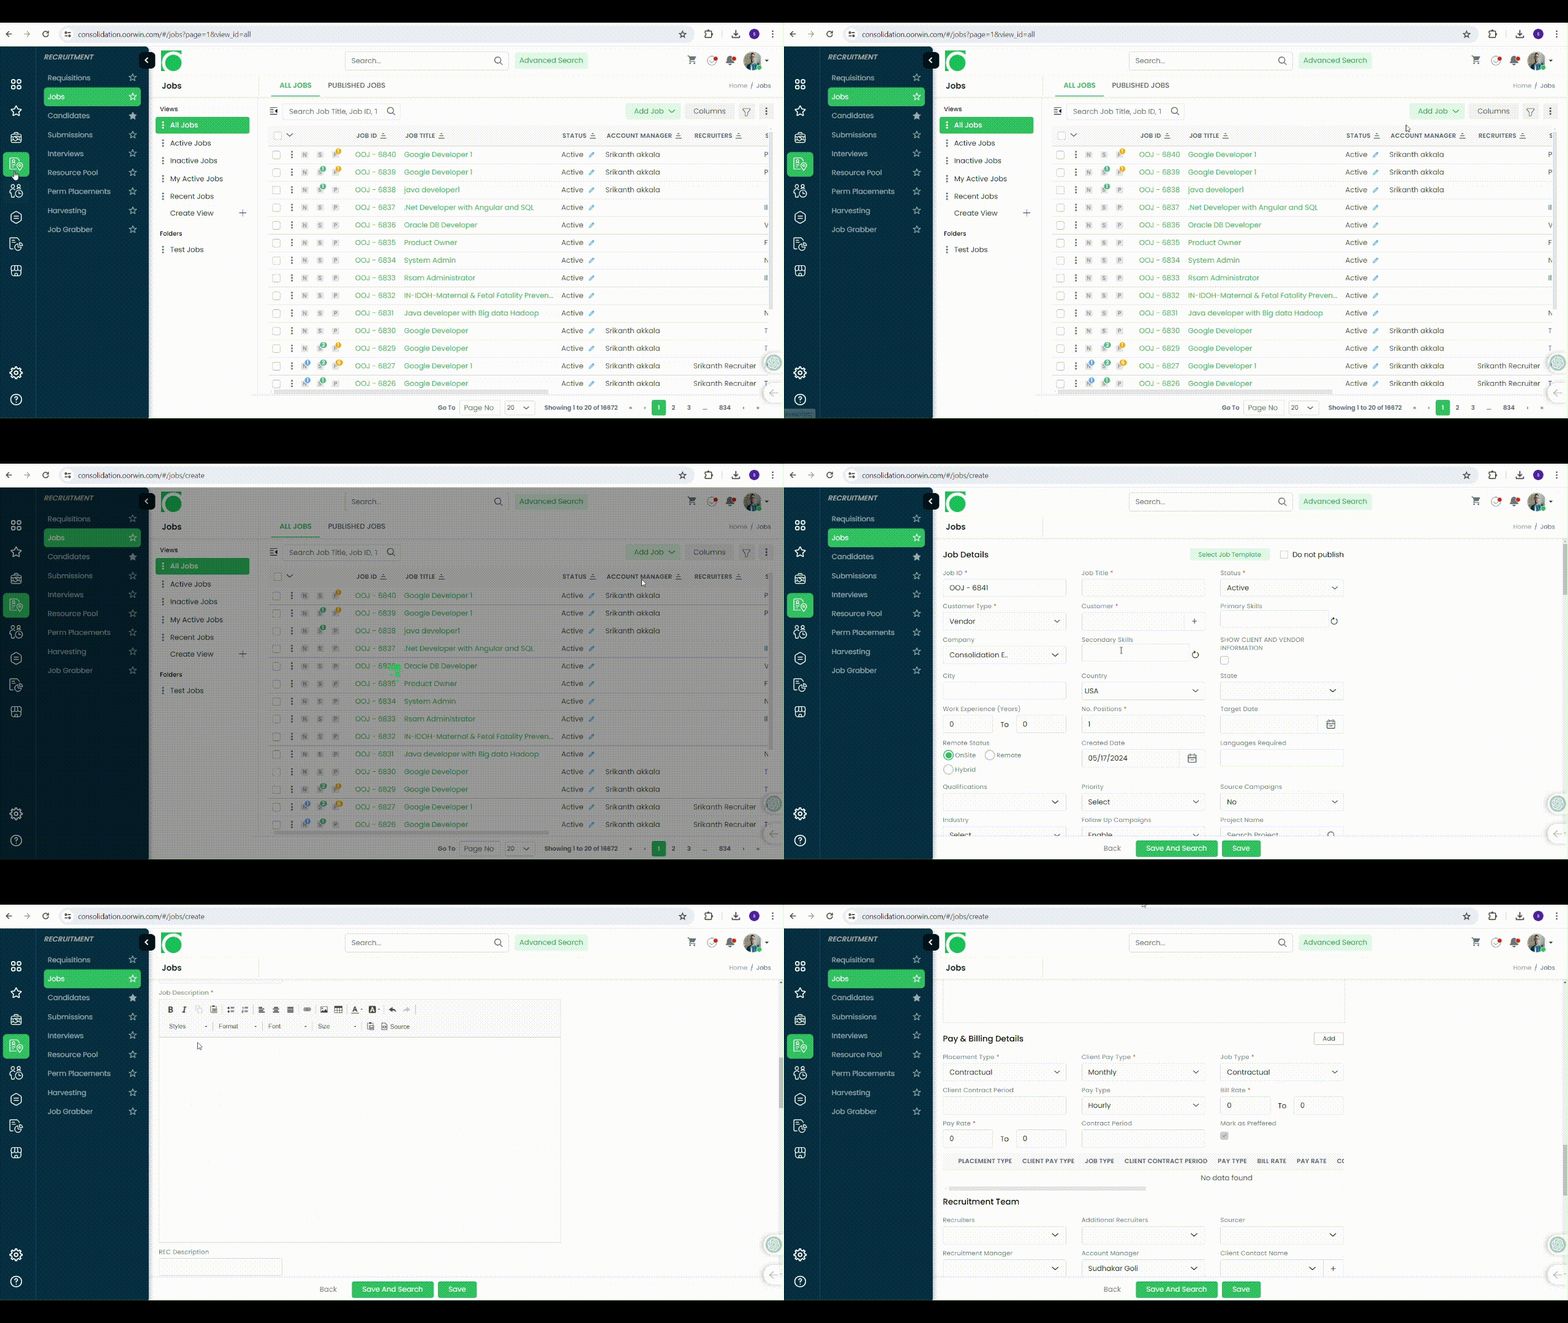
- Login to your Ooriwn account and Go to Job module on the left menu under the recruitment section
- Click on “Add Job” on the top right corner
- Click “Manual Add” button from the drop down menu
- Fill all the mandatory fields like Job Title, Client Name, Location..etc
- Now click on “Save”. Thats It! your job has been created in Oorwin
Additional Options:
- Parse Text: This option allows you to import job details by pasting a text description directly into Oorwin.
- Parse Attachment: Similar to parsing text, you can upload a document containing the job description and Oorwin will attempt to extract the relevant information.
Likes: 36
Dislikes: 32
This article will guide you through the process of publishing the job on job boards.
Below are the steps to follow publishing the job on job boards.
- Login to your Oorwin account and Go to Jobs module on the left menu under the recruitment section.
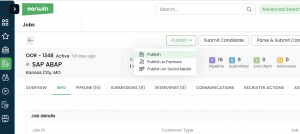
- Select the job > Click on Publish button > Click on Publish on job boards
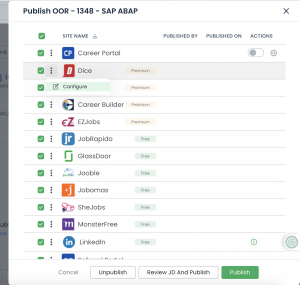
- Select the career portal and the job boards from the list which would like to publish To.
- Fill the mandatory fields of respective job boards by clicking on Actions > Configure.
- Finally, click on Publish, the job will be published on all selected job boards and will start receiving the applications.
Note: The user should be allocated with the credits by the account admin
Likes: 5
Dislikes: 8
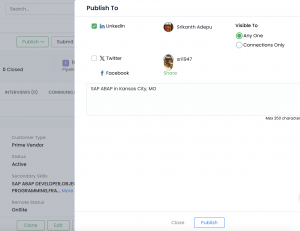
This article will guide you through the process of publishing the job on social media.
Below are the steps to follow publishing the job on social media.
- Login to your Oorwin account and Go to Jobs module on the left menu under the recruitment section.
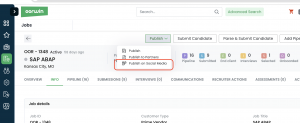
- Open the job > Click on Publish button > Click on Publish on Social media.
- Choose the platforms which would like to publish To.
- Enter the comments(If required) and click on publish.
Likes: 7
Dislikes: 8

