Configure Chrome Plugin
Install Chrome Plugin
In today’s market, there are various browsers such as Google Chrome, Mozilla Firefox, Internet Explorer, etc. According to recent stats, Chrome occupies a worldwide market share of 63.5%, indicating billions of people use it on a daily basis. So, it is evident for the SaaS-based providers to provide a Chrome plugin to link their products with the site’s users open.
Oorwin has also launched its Chrome plugin for you to empower your recruitment team to source faster and screen the right candidates. In this article, let us understand how to configure the Chrome plugin of Oorwin.
Follow the below steps to install and configure the Chrome plugin:
- Login to Oorwin Dashboard and click on your profile icon.
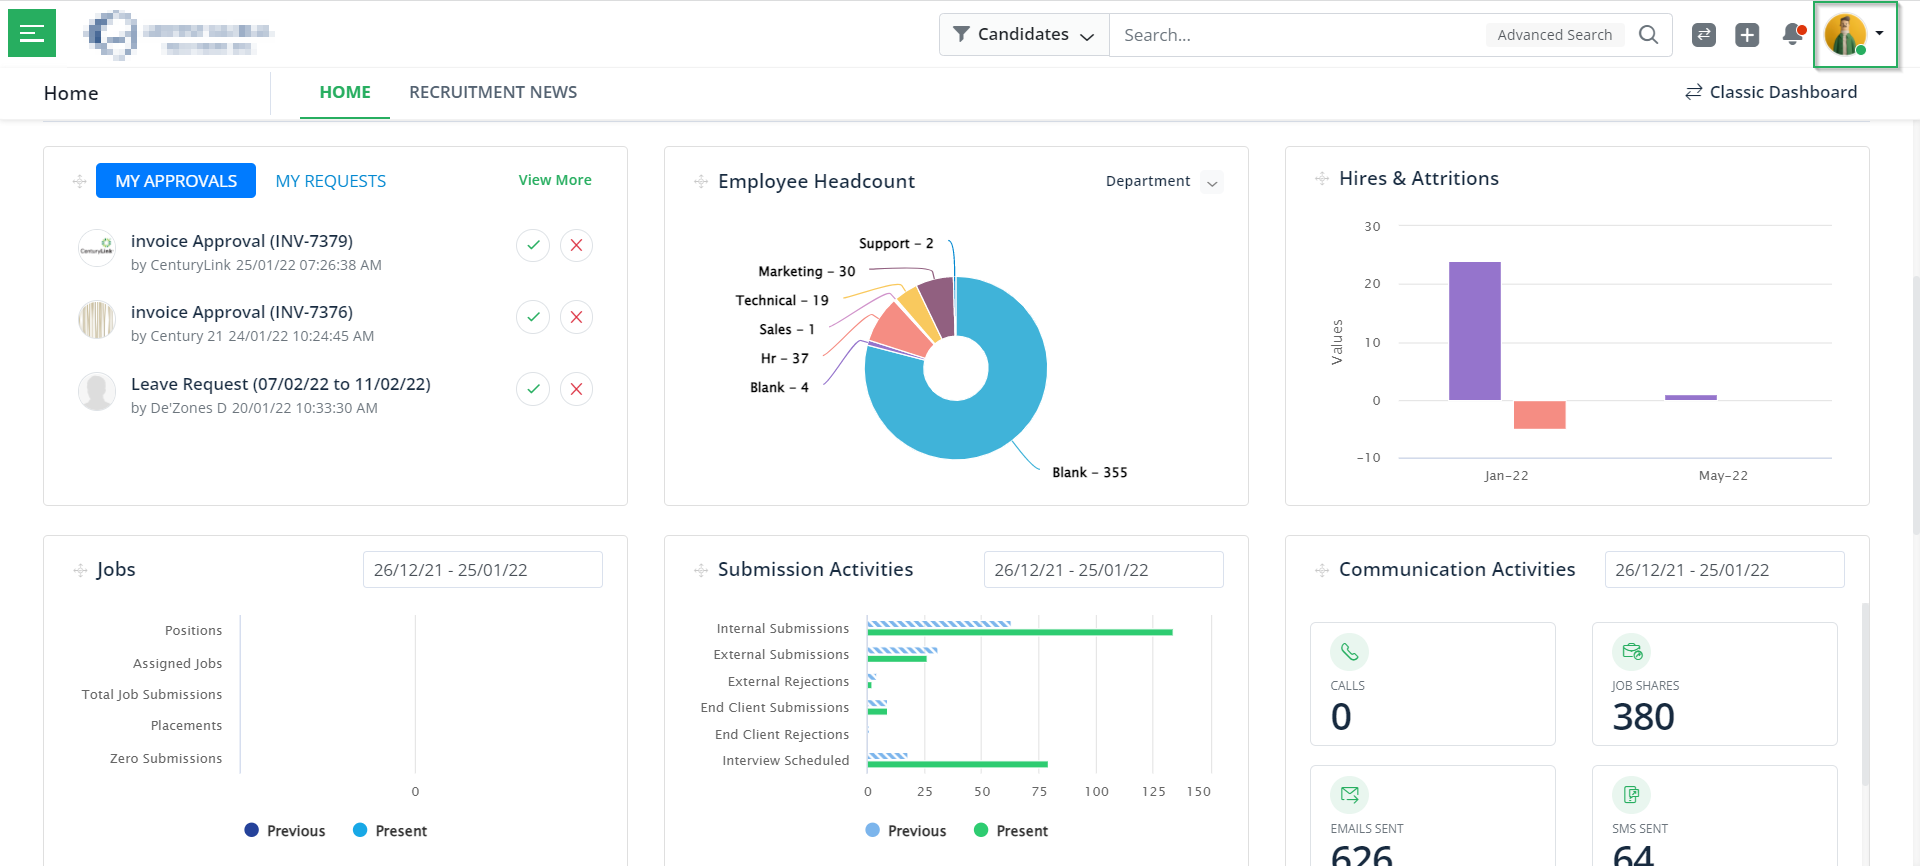
- Click on the My Profile & Preferences in the drop-down as displayed below.

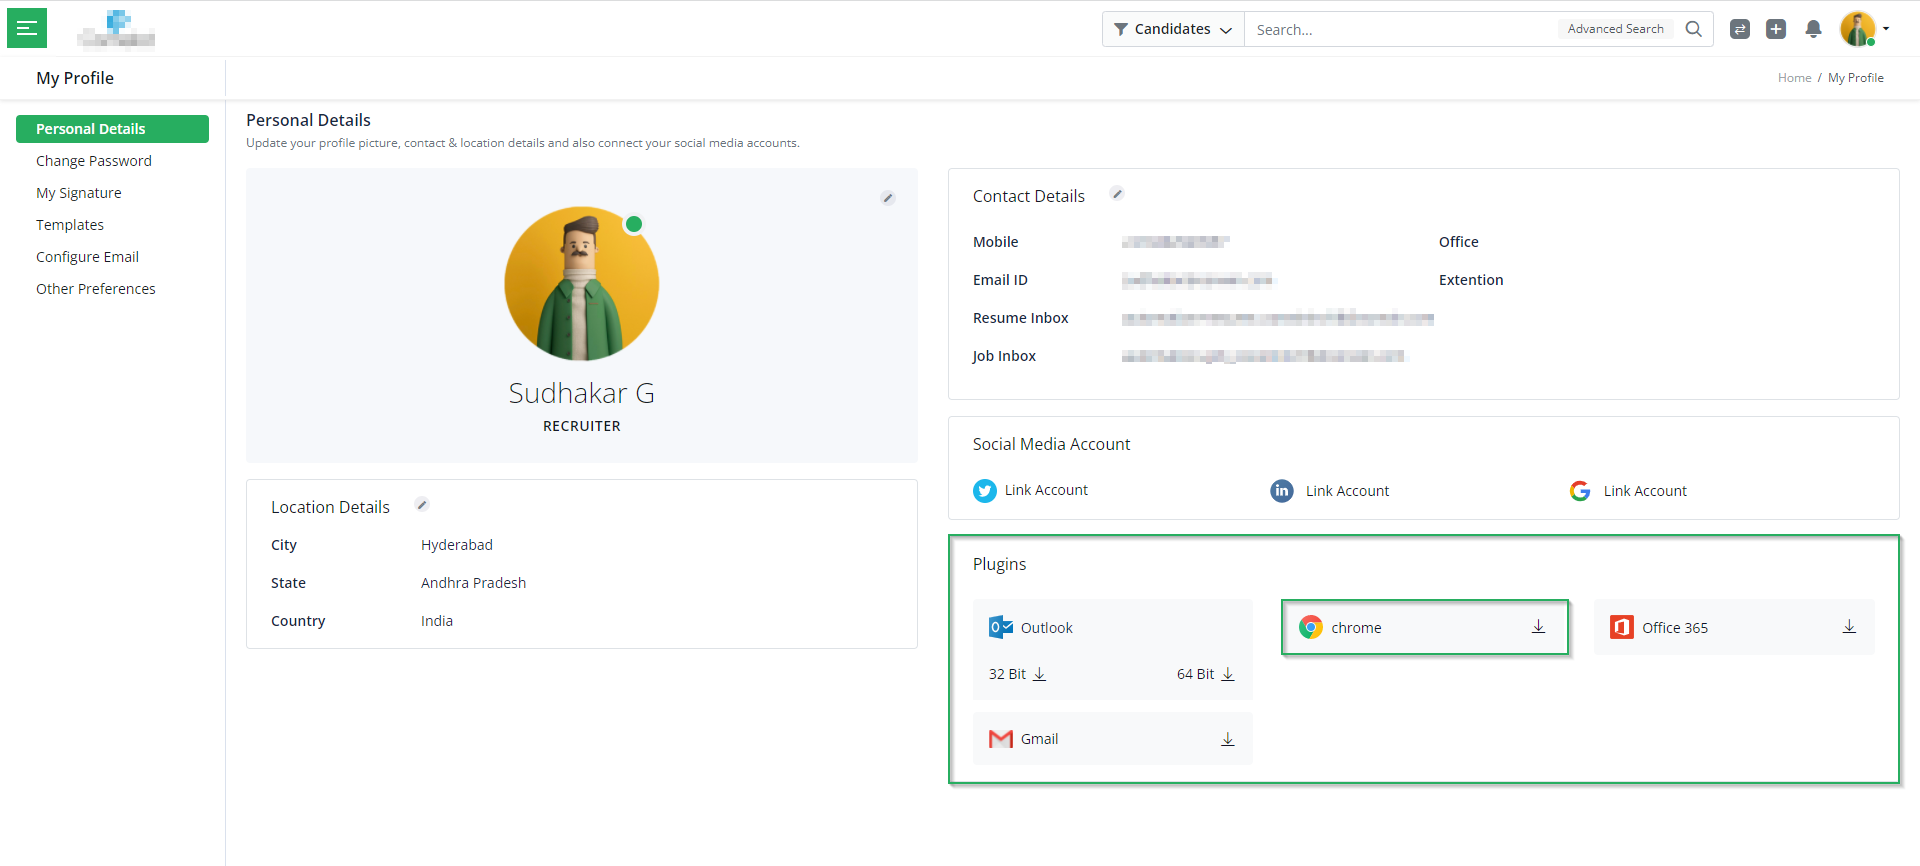
- Under the Plugins section, choose the Chrome plugin.
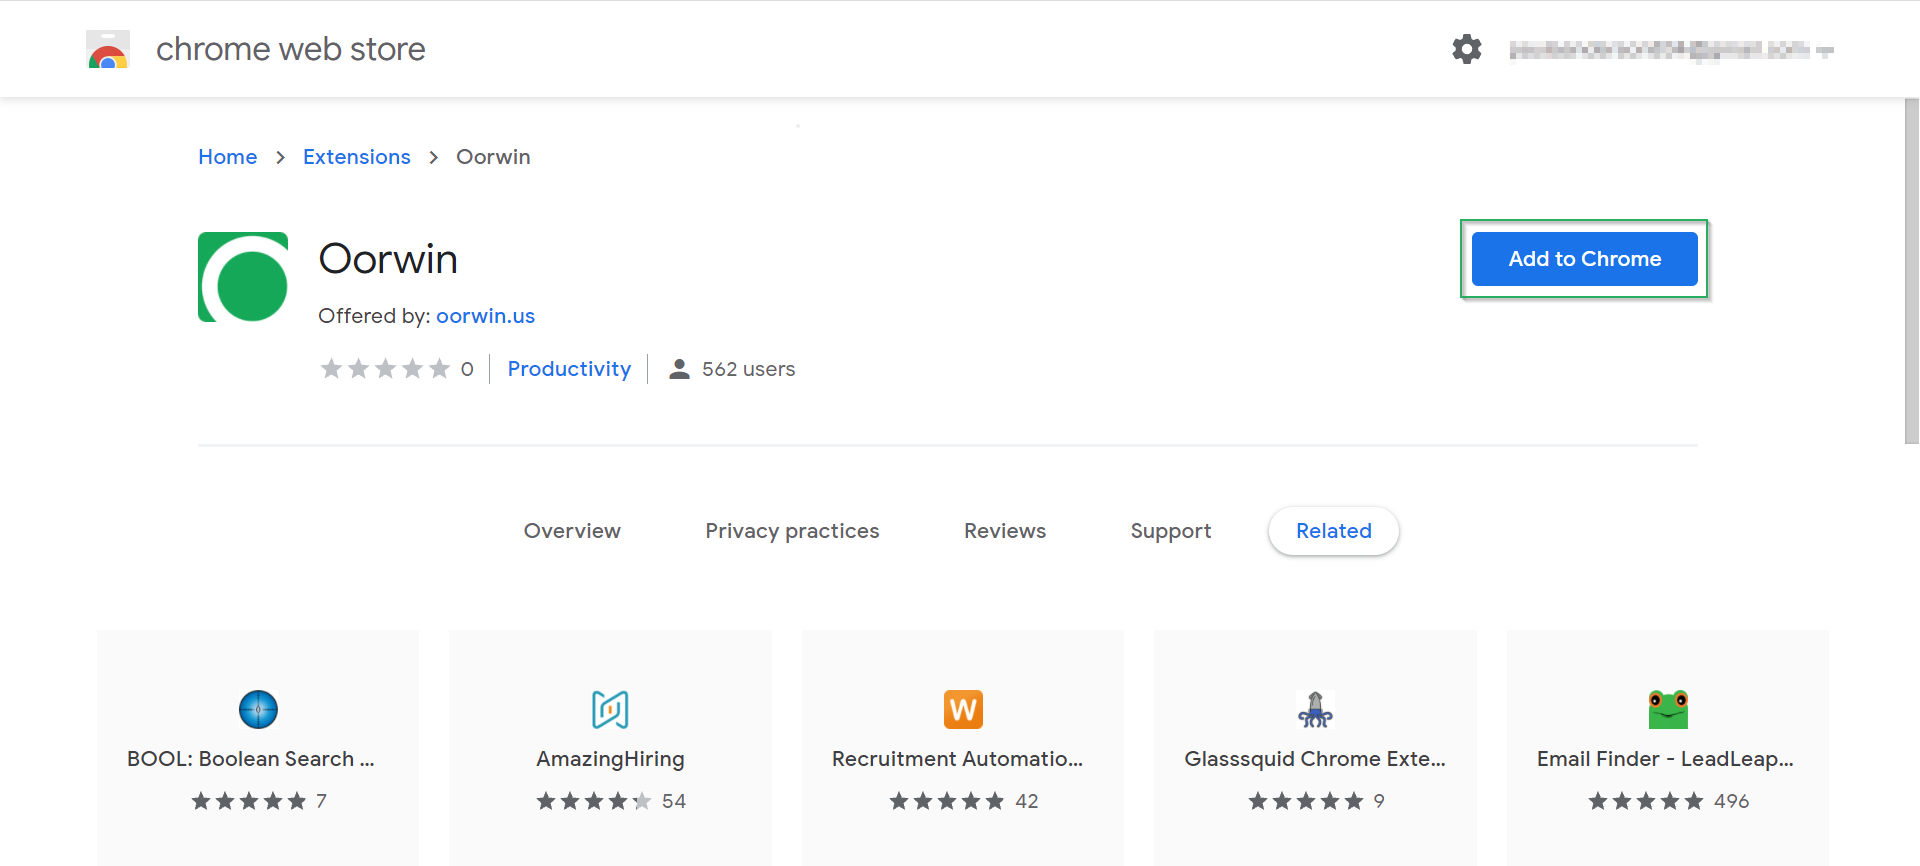
- Then, you will be redirected to the following page. Here click on Add to Chrome.
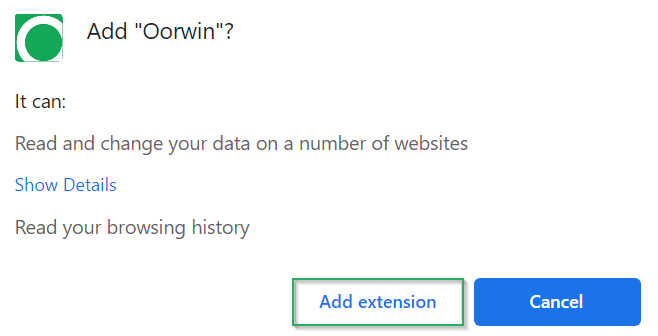
- Once you click on Add to Chrome, then you will see the following pop-up, where you have to click on Add Extension.
Once you click on Add Extension, you will see the Google Chrome plugin account added to the portal. Thus, indicating the plugin installed.
With this, we come to an end to this article. If you are interested in knowing more about Oorwin’s products, take a product tour today or contact us at +91-8977801805 / USA: +1877-766-7946 to talk to our product advisors.
Get the latest Oorwin releases, updates, success stories & industry news